I love my wife Maria. I love that she teaches music. And I love that she shares ideas with me. A couple of weeks ago, Maria gave me a whopper of an idea that I’ve already incorporated into my teaching.
Maria teaches band at Prescott BASIS School. Before the students are given instruments, they are all reading notes. She leads them on a historical journey of how music notation evolved, from early plainsong up to the 5 line staff we know. But, by the end of this 2 week journey through the history of music notation, all of her students can identify notes on any line and ledger line on any clef: The G (treble) clef, the F (bass) clef, and the C clef. They can do this because they can navigate the circle of thirds up and down, if not by memory, then at least by counting their fingers. And that was the idea of hers that I loved: using the fingers to navigate the circle of thirds.
| Finger | Note |
|---|---|
| RH finger 4 | G |
| RH finger 3 | B |
| RH finger 2 | D |
| LH finger 5 | F |
| LH finger 4 | A |
| LH finger 3 | C |
| LH finger 2 | E |
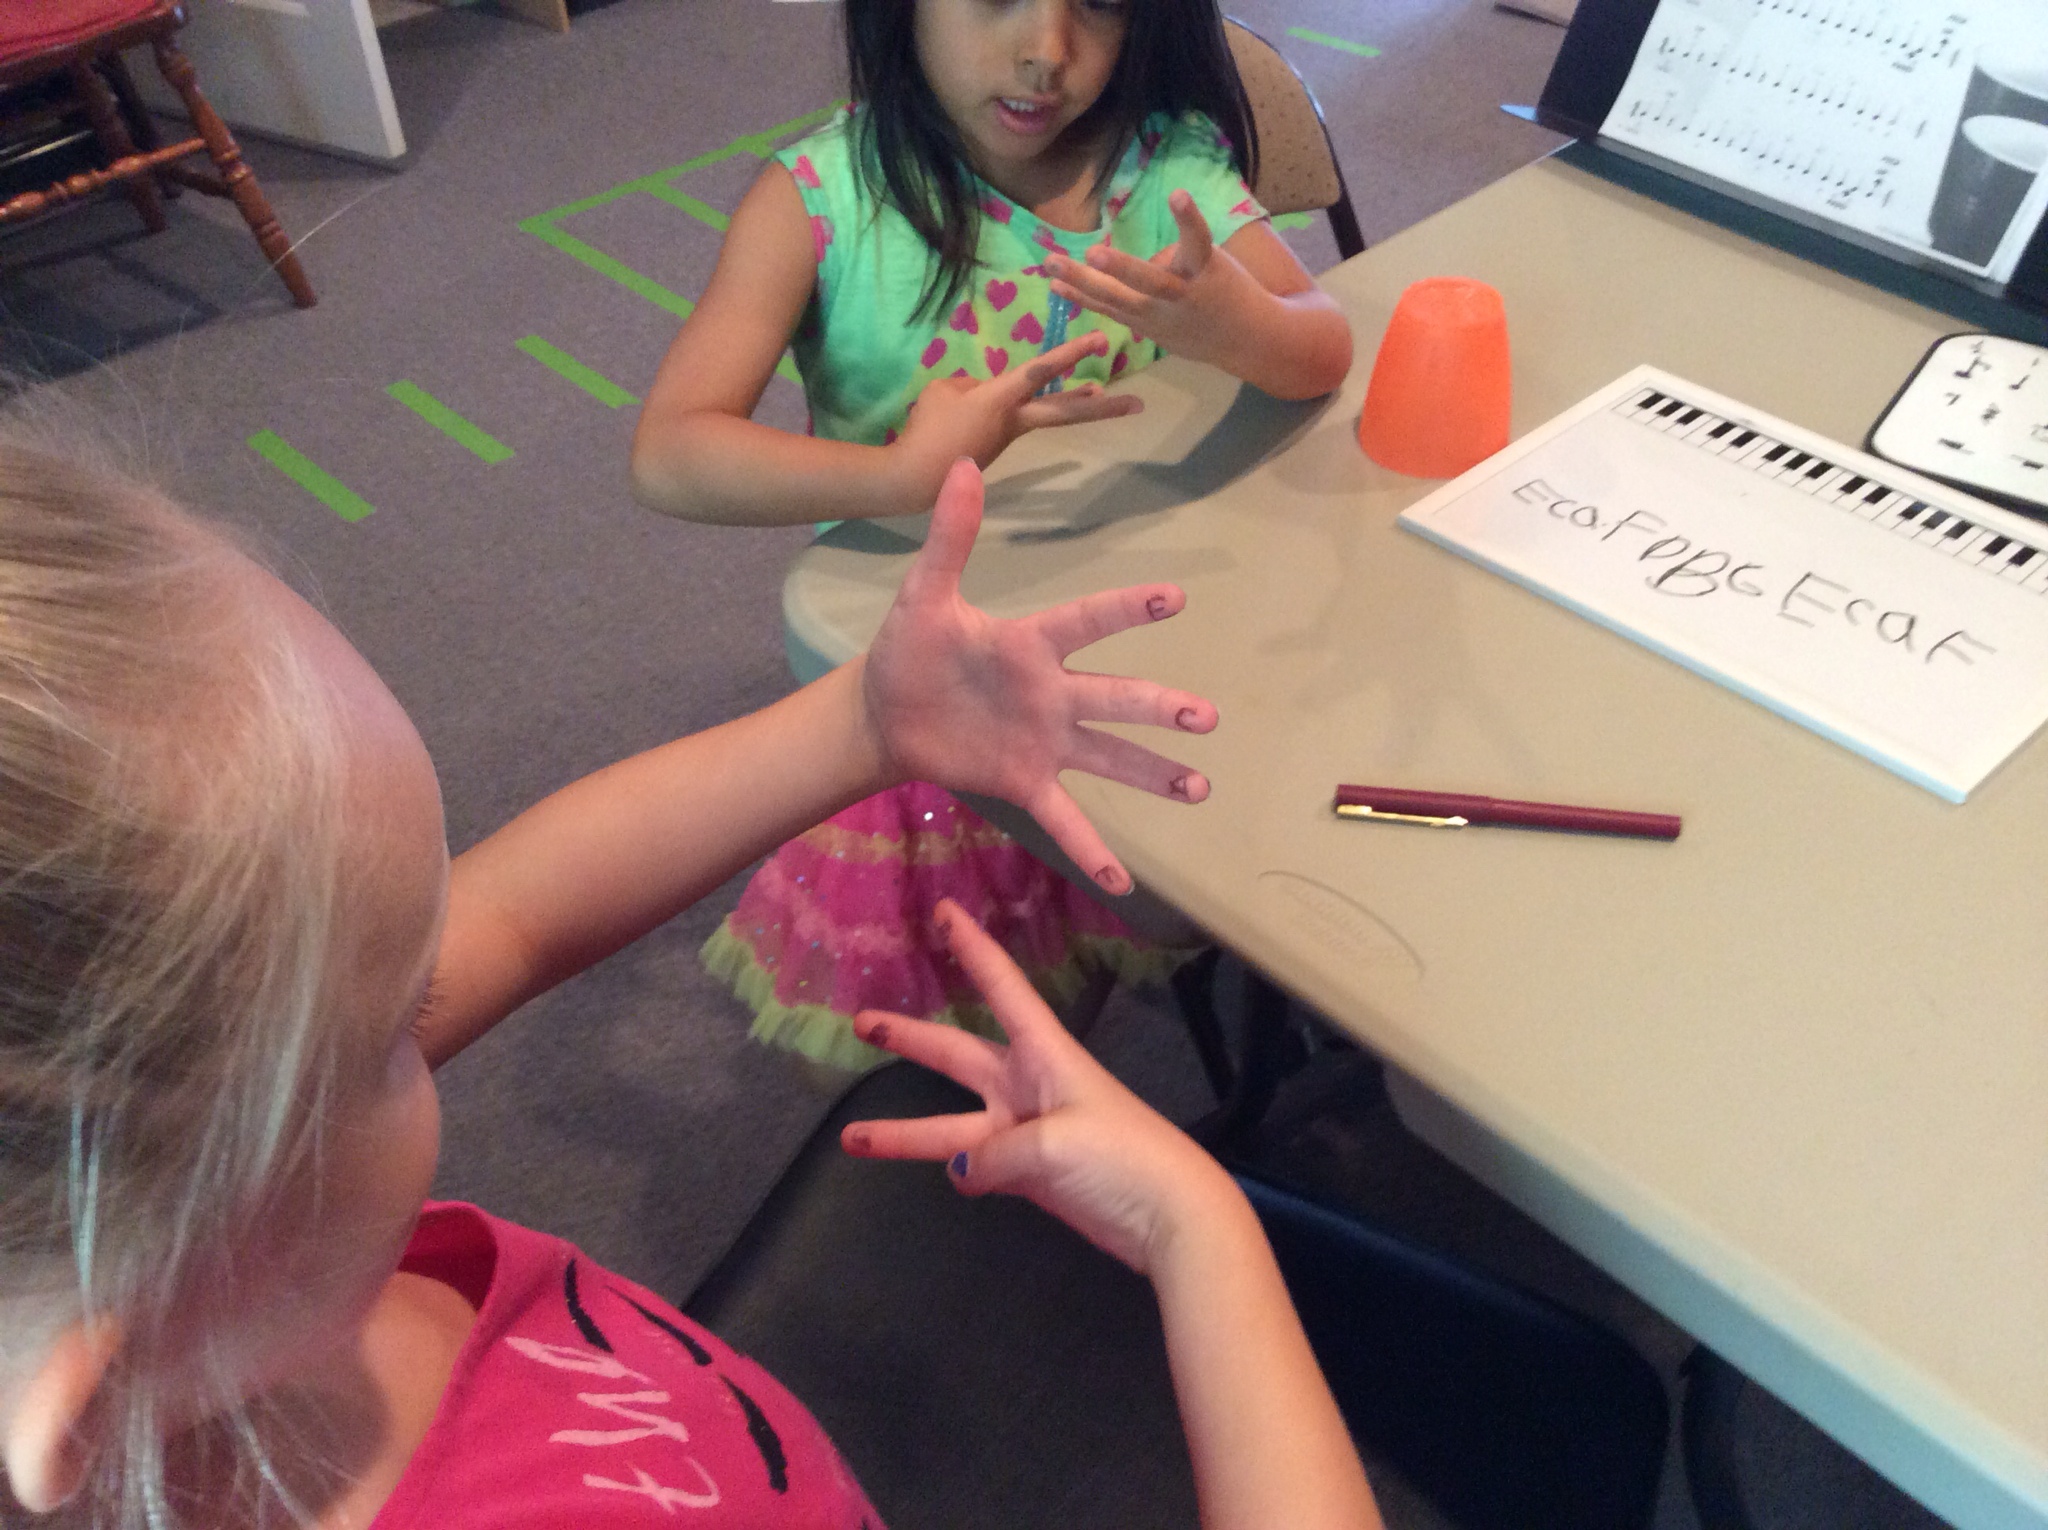
To do this, the student needs to associate a specific finger with a note within the circle of thirds. With my younger students, I wrote one cycle of the circle of thirds on their fingers, as specified in the table here.
When the student holds both the RH 3 fingers and LH 4 fingers facing towards himself, he can see the note names. If the RH is placed below the LH, the student can read up from the lowest finger: GBDFACE. If the RH is placed above the LH, then the student reads: FACEGBD. Similarly, the student can read the thirds going down. By alternating the hand positions while reading, the student can read the circle of thirds continuously up or down.
Circle of Thirds on Fingers
Once the student is familiar with the fingers and the associated notes, you can associate lines on the staff with the fingers. These kinds of questions become easy to answer by counting up and down the fingers:
- If this line is “F,” what is the name of the note that is 3 lines down. (The student finds the “F” finger (LH 5), arranges the RH below the LH, and counts down 3 fingers, to land on RH 4, which is “G.”)
- If this line is “F,” what is the name of the note 5 lines up. (Find “F” and start counting up. The RH will need to be placed above the LH to continue counting up to the 5th line. The student ends on RH 3, which is a “B.”)
If the student were reading the bass clef, where the anchor note is F (between the two dots), the student who answered the above questions would have read the bottom line of the bass clef (G) and the fourth ledger line above the bass clef (B!). Once the student knows that the anchor note of the treble clef is G (inside the “circle”), or even that the anchor note of a C clef is C (inside the crook of the “K”), deciphering the notes becomes just as easy.
As an aside, I think that using fingers this way would help also for students who learn music in solfege (Do Re Mi Fa Sol La Si/Ti Do). I teach my students to recognize both solfege and letter names, but I decided to experiment with fingers using letter names first.
In a future post, I will describe a couple of floor games that use this finger trick on a staff I taped to the floor.