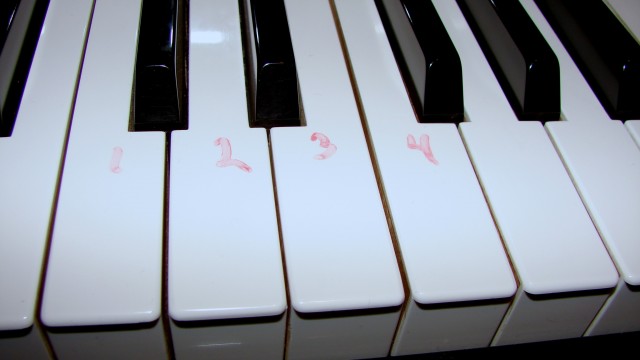
I was giving a piano lesson to an elderly woman who had never studied music before, and in an effort to help her understand the concept of one finger per piano key in a 5 finger position, I grabbed a dry erase marker (triple checking that it was such) and wrote the numbers 1, 2, 3, 4, & 5 on my key tops. (I couldn’t quickly find my skinny post-its to write on.) The numbers greatly facilitated the rest of the lesson.
After she left, I attempted to wipe off the marker with a micro fiber cloth I keep handy near the piano. To my dismay, most of the markings did not come off! A moist cloth did not help, either. I picked up the pen I’d used to check the details. Yes, it was a dry-erase marker, yet it had written on it “indelible to porous surfaces.”
Oops. I guess piano keys are porous.
The parent of the next lesson offered to invite her handy-man husband over, who was “familiar with solvents of all kinds.” A nice offer, but I was confident that someone in the universe before me had done something similar and had found a solution that did not risk dissolving my key tops.
So, at the end of the day, on to Google, which led me to many opinions on the subject.
I chose not to use Magic Eraser after reading that its abrasiveness would permanently mark up the piano keys. There were also warnings against using all sorts of solvents, such as acetone, that would damage the piano keys.
Because my keys are plastic, I settled on using Krud Kutter Graffiti Remover, which another piano teacher had documented as being successful. Krud Kutter was listed as being safe for plastic, so I ordered a bottle from Amazon and waited my 2 days for delivery.
I am happy to report that it worked very well.
I first tried a very specific application of Krud Kutter with a Q-tip to see if there might be any damage to the keys. No damage to the keys, but also no help in removing the markings. I tried spraying the Krud Kutter on my microfiber cloth and then wiping the markings, and that did little to remove the marks. The directions on the bottle say to let the solution soak on the markings and then wipe it off with water. (For really porous materials, use a power water sprayer to work out the graffiti, but I didn’t consider that a viable option.) So, this is what worked for me:
- Press down both the key with the marking and the adjacent keys. This gave me surface that would not shift if I slipped.
- Very carefully position the bottle’s spray tip over the markings and squeeze VERY SLOWLY until 1 – 3 drops come out, whatever is necessary to cover the markings. (I recommend practicing this maneuver first so you don’t accidentally spray a wide swath of your piano.)
- Let it soak for 8 minutes — a time discovered by trial and error and which is several minutes longer than what the directions recommended.
- Wipe off with a microfiber cloth. Wipe and/or scrub in all directions, holding the key steady for any lateral scrubs.
- If there are still light markings, dampen the cloth with more solution, and continue to scrub the markings until they disappear.
- Moisten a different part of the cloth with water and work off any remaining residue of the solution.
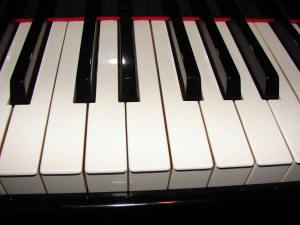
The result? The markings are not visible. When light is reflecting off of the keys in just the right way, I can see a faint shadow of the original markings — almost as if the surface of the key top has a slightly different texture. (I would not be surprised if that wore off over time.) But, as far as I can tell, there is none of the original discoloration.
Of course, what worked for me may not work for you. Please make sure you test whatever solution you use on an inconspicuous section of your piano keys to make sure it won’t damage them.
Better yet, don’t write anything on your piano keys.


I am happy to say that the Goo Gone product worked on my plastic keys even better than the grafitti stuff described above. There is no residual marking and the keys were not damaged
Goo(d) to know! 🙂